Robot Onboarding
This guide is organized around one outcome: make the robot work. Follow these 6 steps in order and you should end with a robot that is online, conversational, able to perform one real task, and safe to hand over to operations.
What “working” means
Before handoff, confirm these four outcomes:
- The robot stays online and keeps syncing configuration
- It can hold a basic conversation for the target use case
- It can complete at least one core task
- Operators can inspect and take over through Teleops
Step 1: Prepare a Robot Model Template
Why models? A Robot Model is a hardware “template” that defines the 3D model, sensor configuration, and default parameters. When registering a new robot, you select a model and automatically inherit all its settings — no need to configure each device from scratch.

How to
- Go to Platform → Robot Models
- Click Create Model and fill in:
- Name — e.g., “Patrol Dog Pro” or “Reception G1”
- Manufacturer — Hardware vendor info
- Description — Intended use case and capabilities
- Upload a URDF/MJCF model file (optional but recommended):
- Package the
.urdffile and mesh resources into a.zip - The system auto-parses and provides a 3D preview
- Use the Diagnostics feature to check model integrity
- Package the
See also: Robot Models reference
Step 2: Register the Robot
Create a new device from the Dashboard or Robot List page.
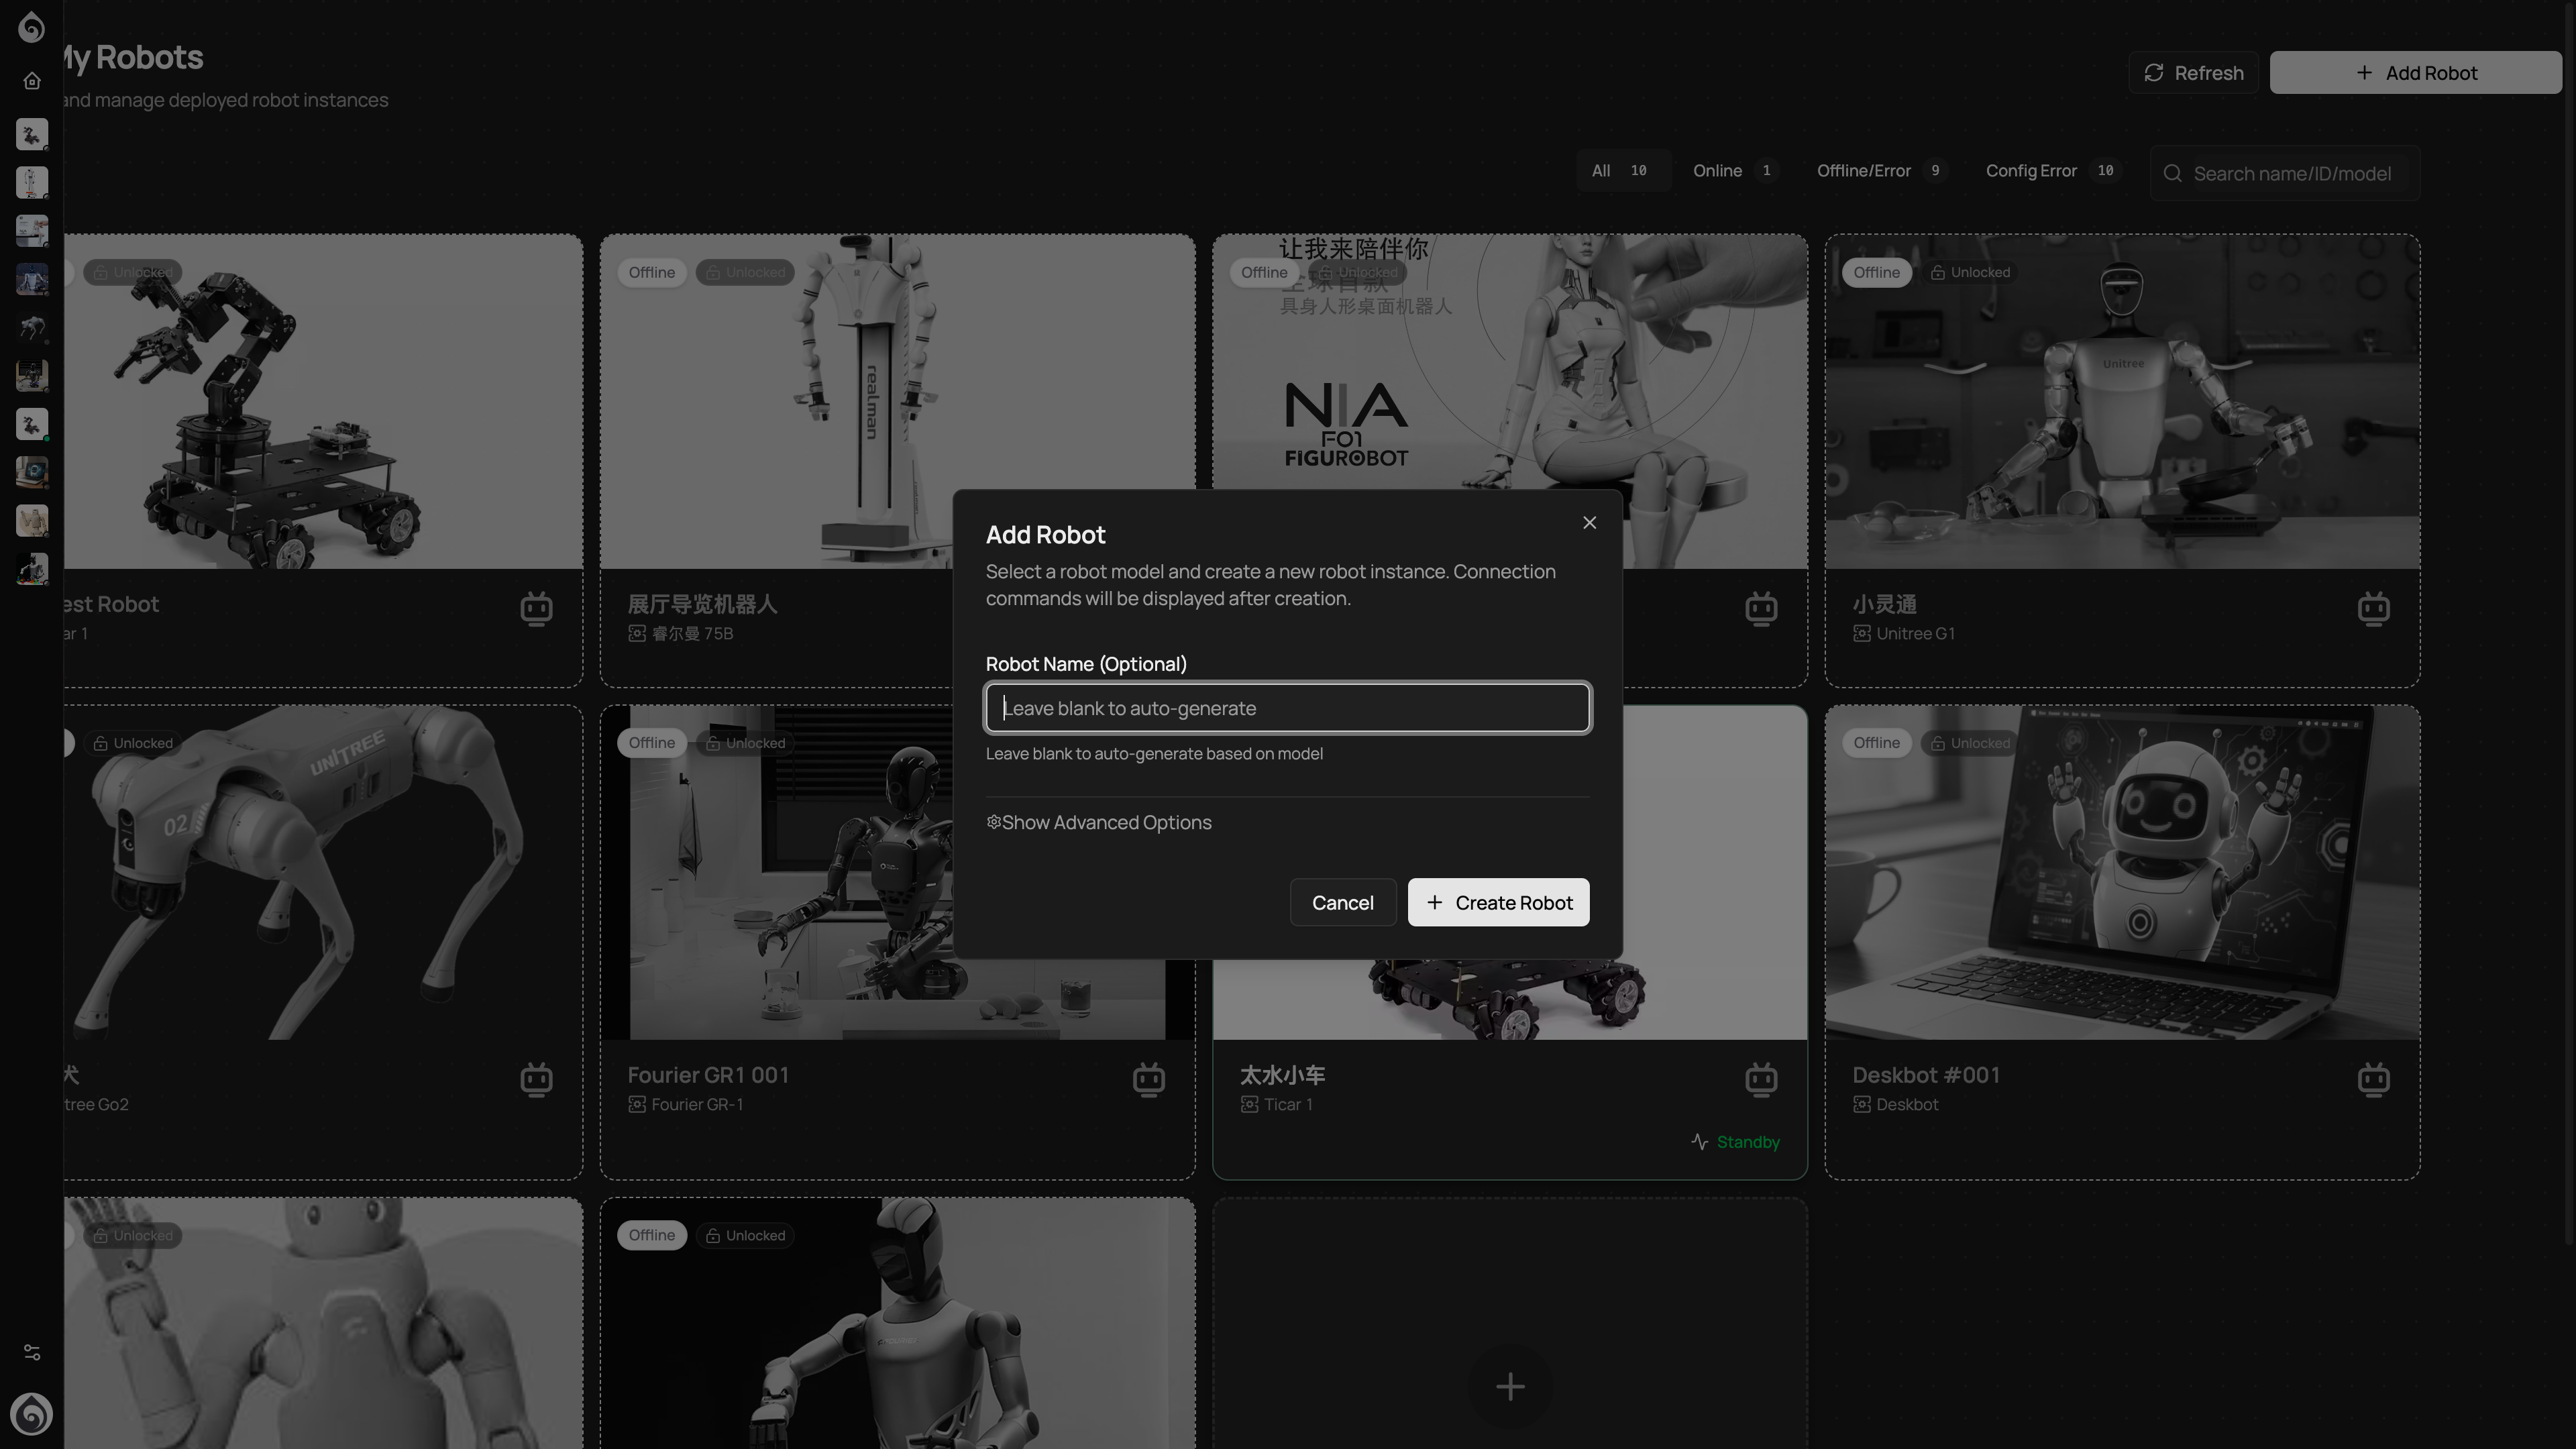
How to
- Click Add Robot
- Select an existing Robot Model (or use a custom type)
- Fill in device info:
- Name — We recommend a “location + role + number” convention, e.g., “Mall-Greeter-01”
- Description — Responsibilities and deployment location
Naming Conventions
Good naming pays off as your fleet scales:
| Pattern | Example | Best for |
|---|---|---|
| Location + Role + Number | WestField-Greeter-01 | Retail, hospitality |
| Project + Number | Apollo-Proto-03 | R&D and testing |
| Building + Floor + Number | A3-12F-Security-02 | Property and security |
Step 3: Install Ticos Agent
After registration, you need to install and start the client program on the physical hardware side.
Ticos Agent is the core bridge program deployed on robot devices (Open Source: tiwater/ticos-agent). It connects the physical device with the Ticos Cloud Server (api.ticos.ai) and is responsible for:
- Maintaining a persistent connection with the cloud hub
- Automatically pulling the latest model, agent, and scene configurations
- Real-time processing of local perception inputs and triggering physical actions
- Bridging hardware drivers with Ticos remote control and Stardust services
How to
- Log in to the robot’s onboard computing platform (e.g., Jetson, Raspberry Pi, or x86 IPC).
- Click Connect in the Ticos Web console to get the one-click installation command for this robot.
- Run the installation script in the robot terminal (e.g.,
curl -sSL https://get.ticos.ai/install.sh | bash -s -- --token <Token>). - Wait for the terminal to indicate a successful connection, then return to the Ticos Web dashboard and confirm the device status has changed to Online.
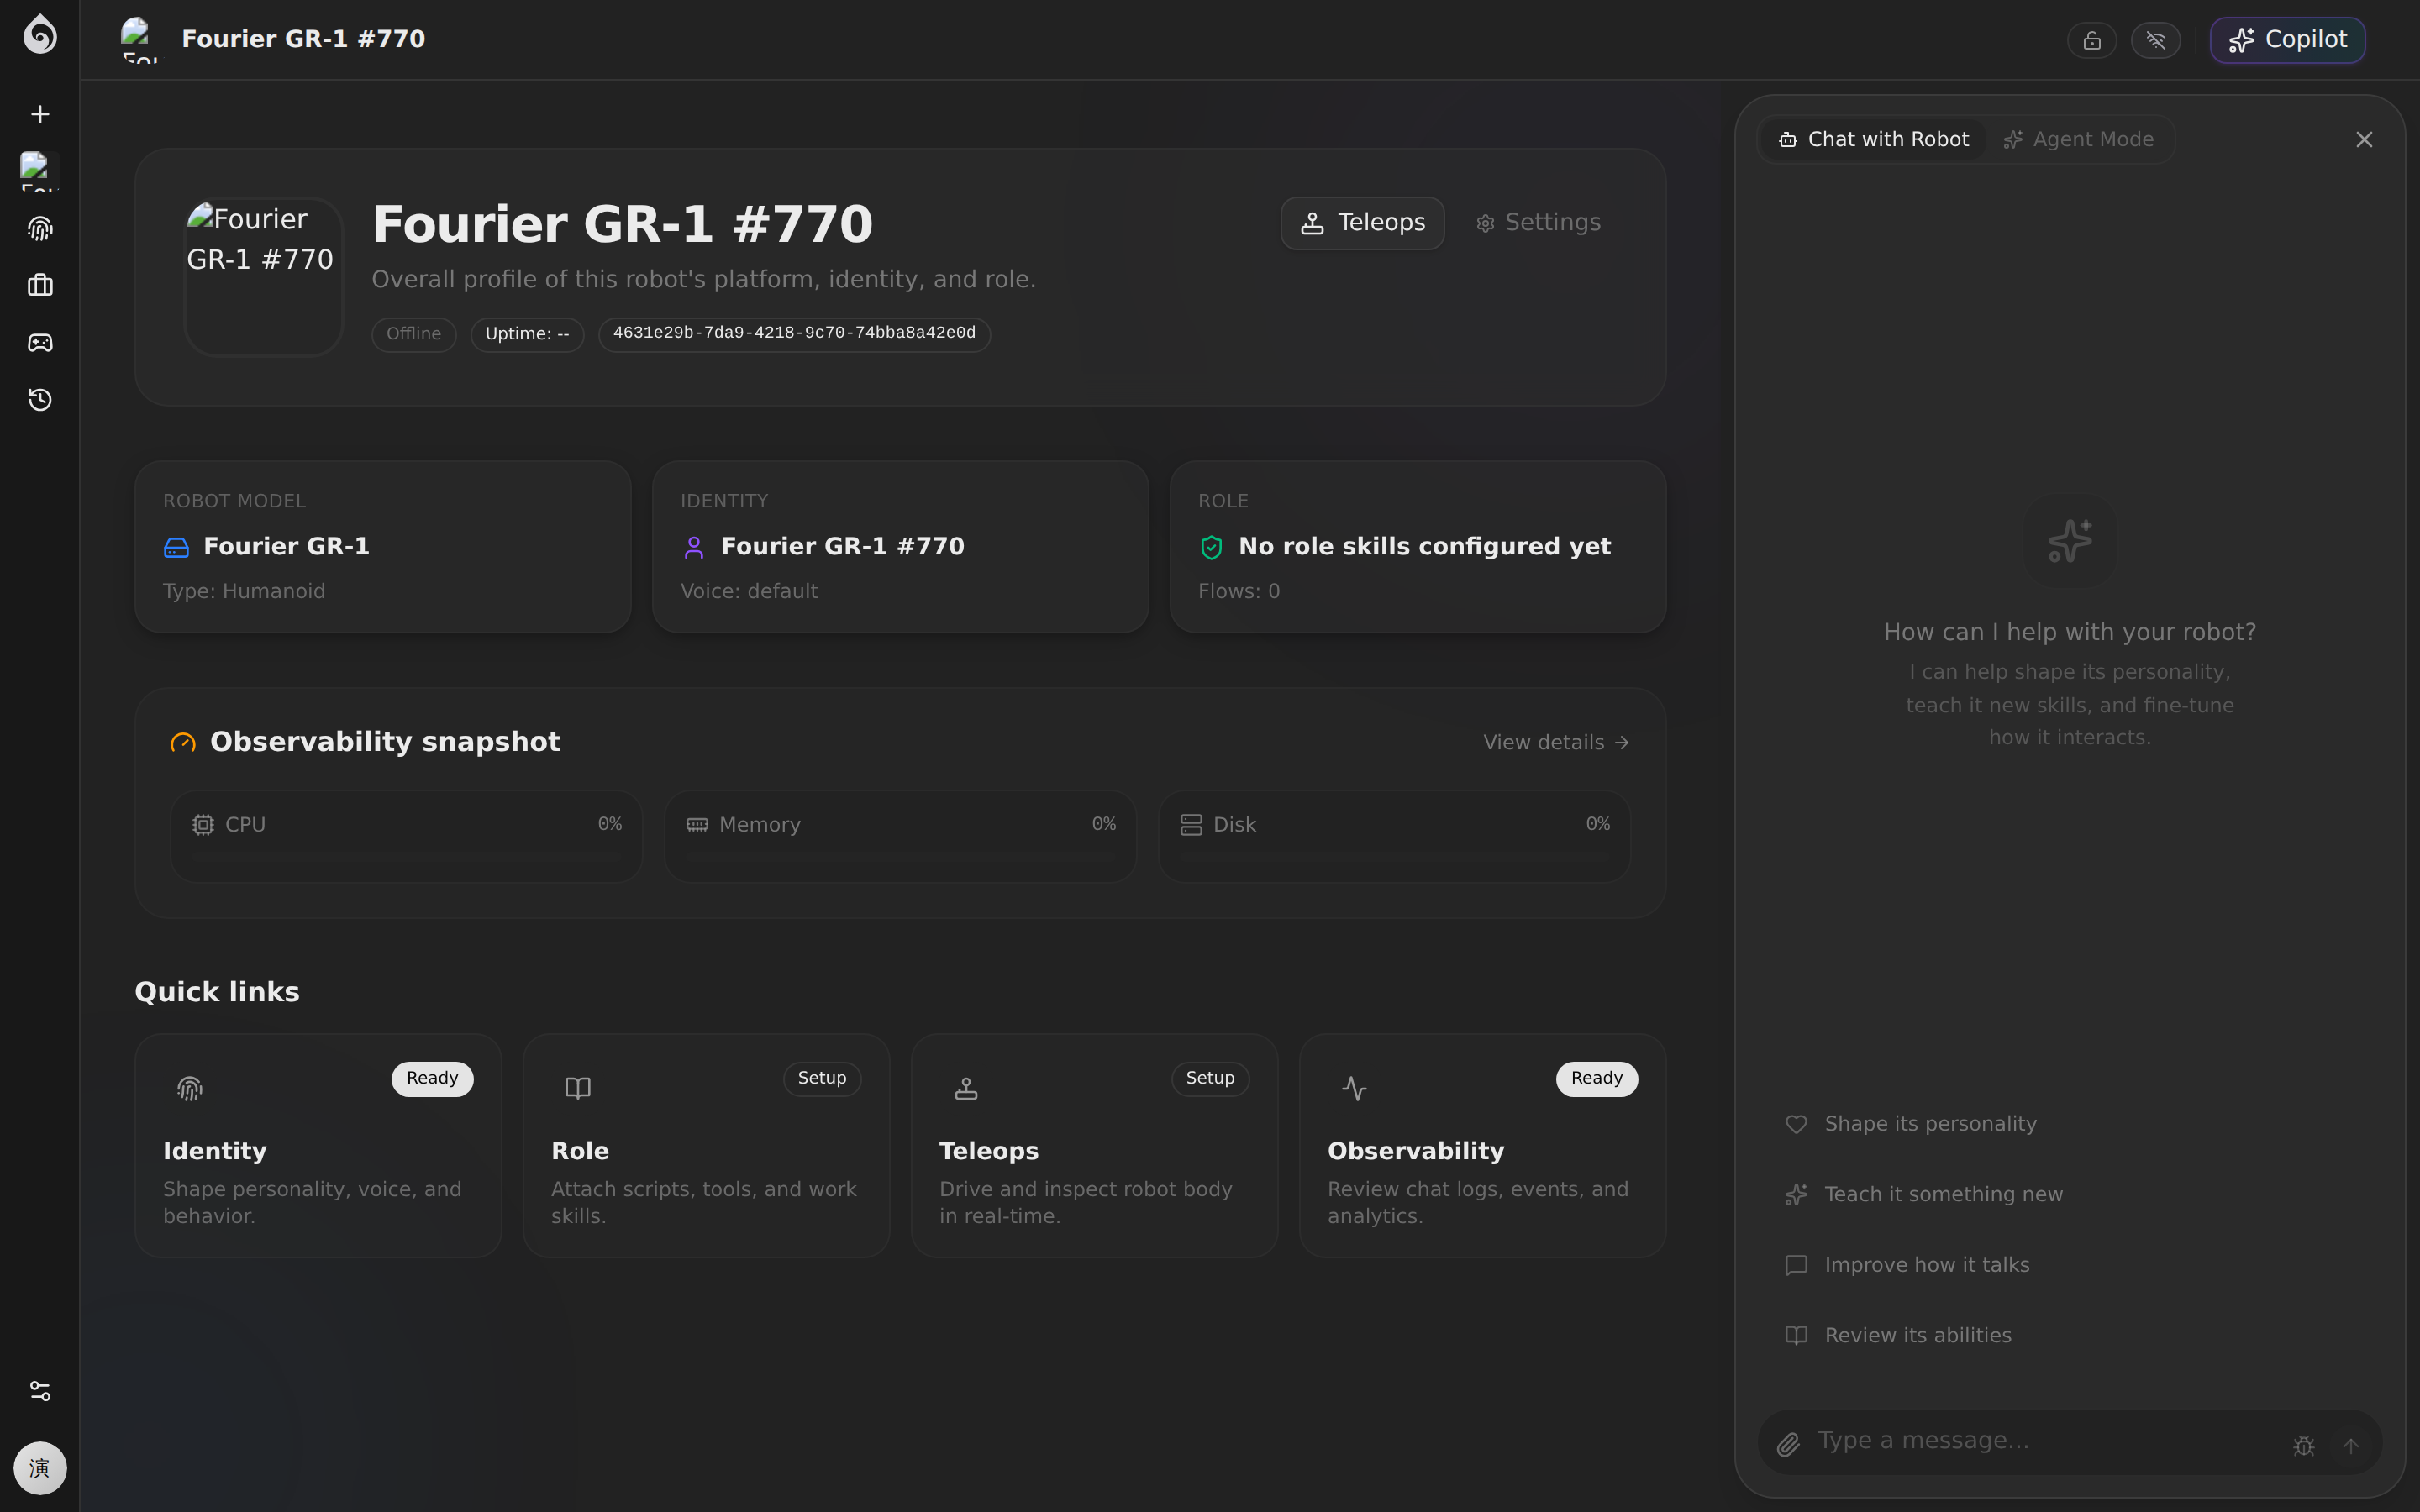
Step 4: Make the Robot Converse Reliably
The Agent is the robot’s “AI brain.” Do not try to configure everything at once. First make the robot reliably greet, understand, and answer inside a safe boundary.
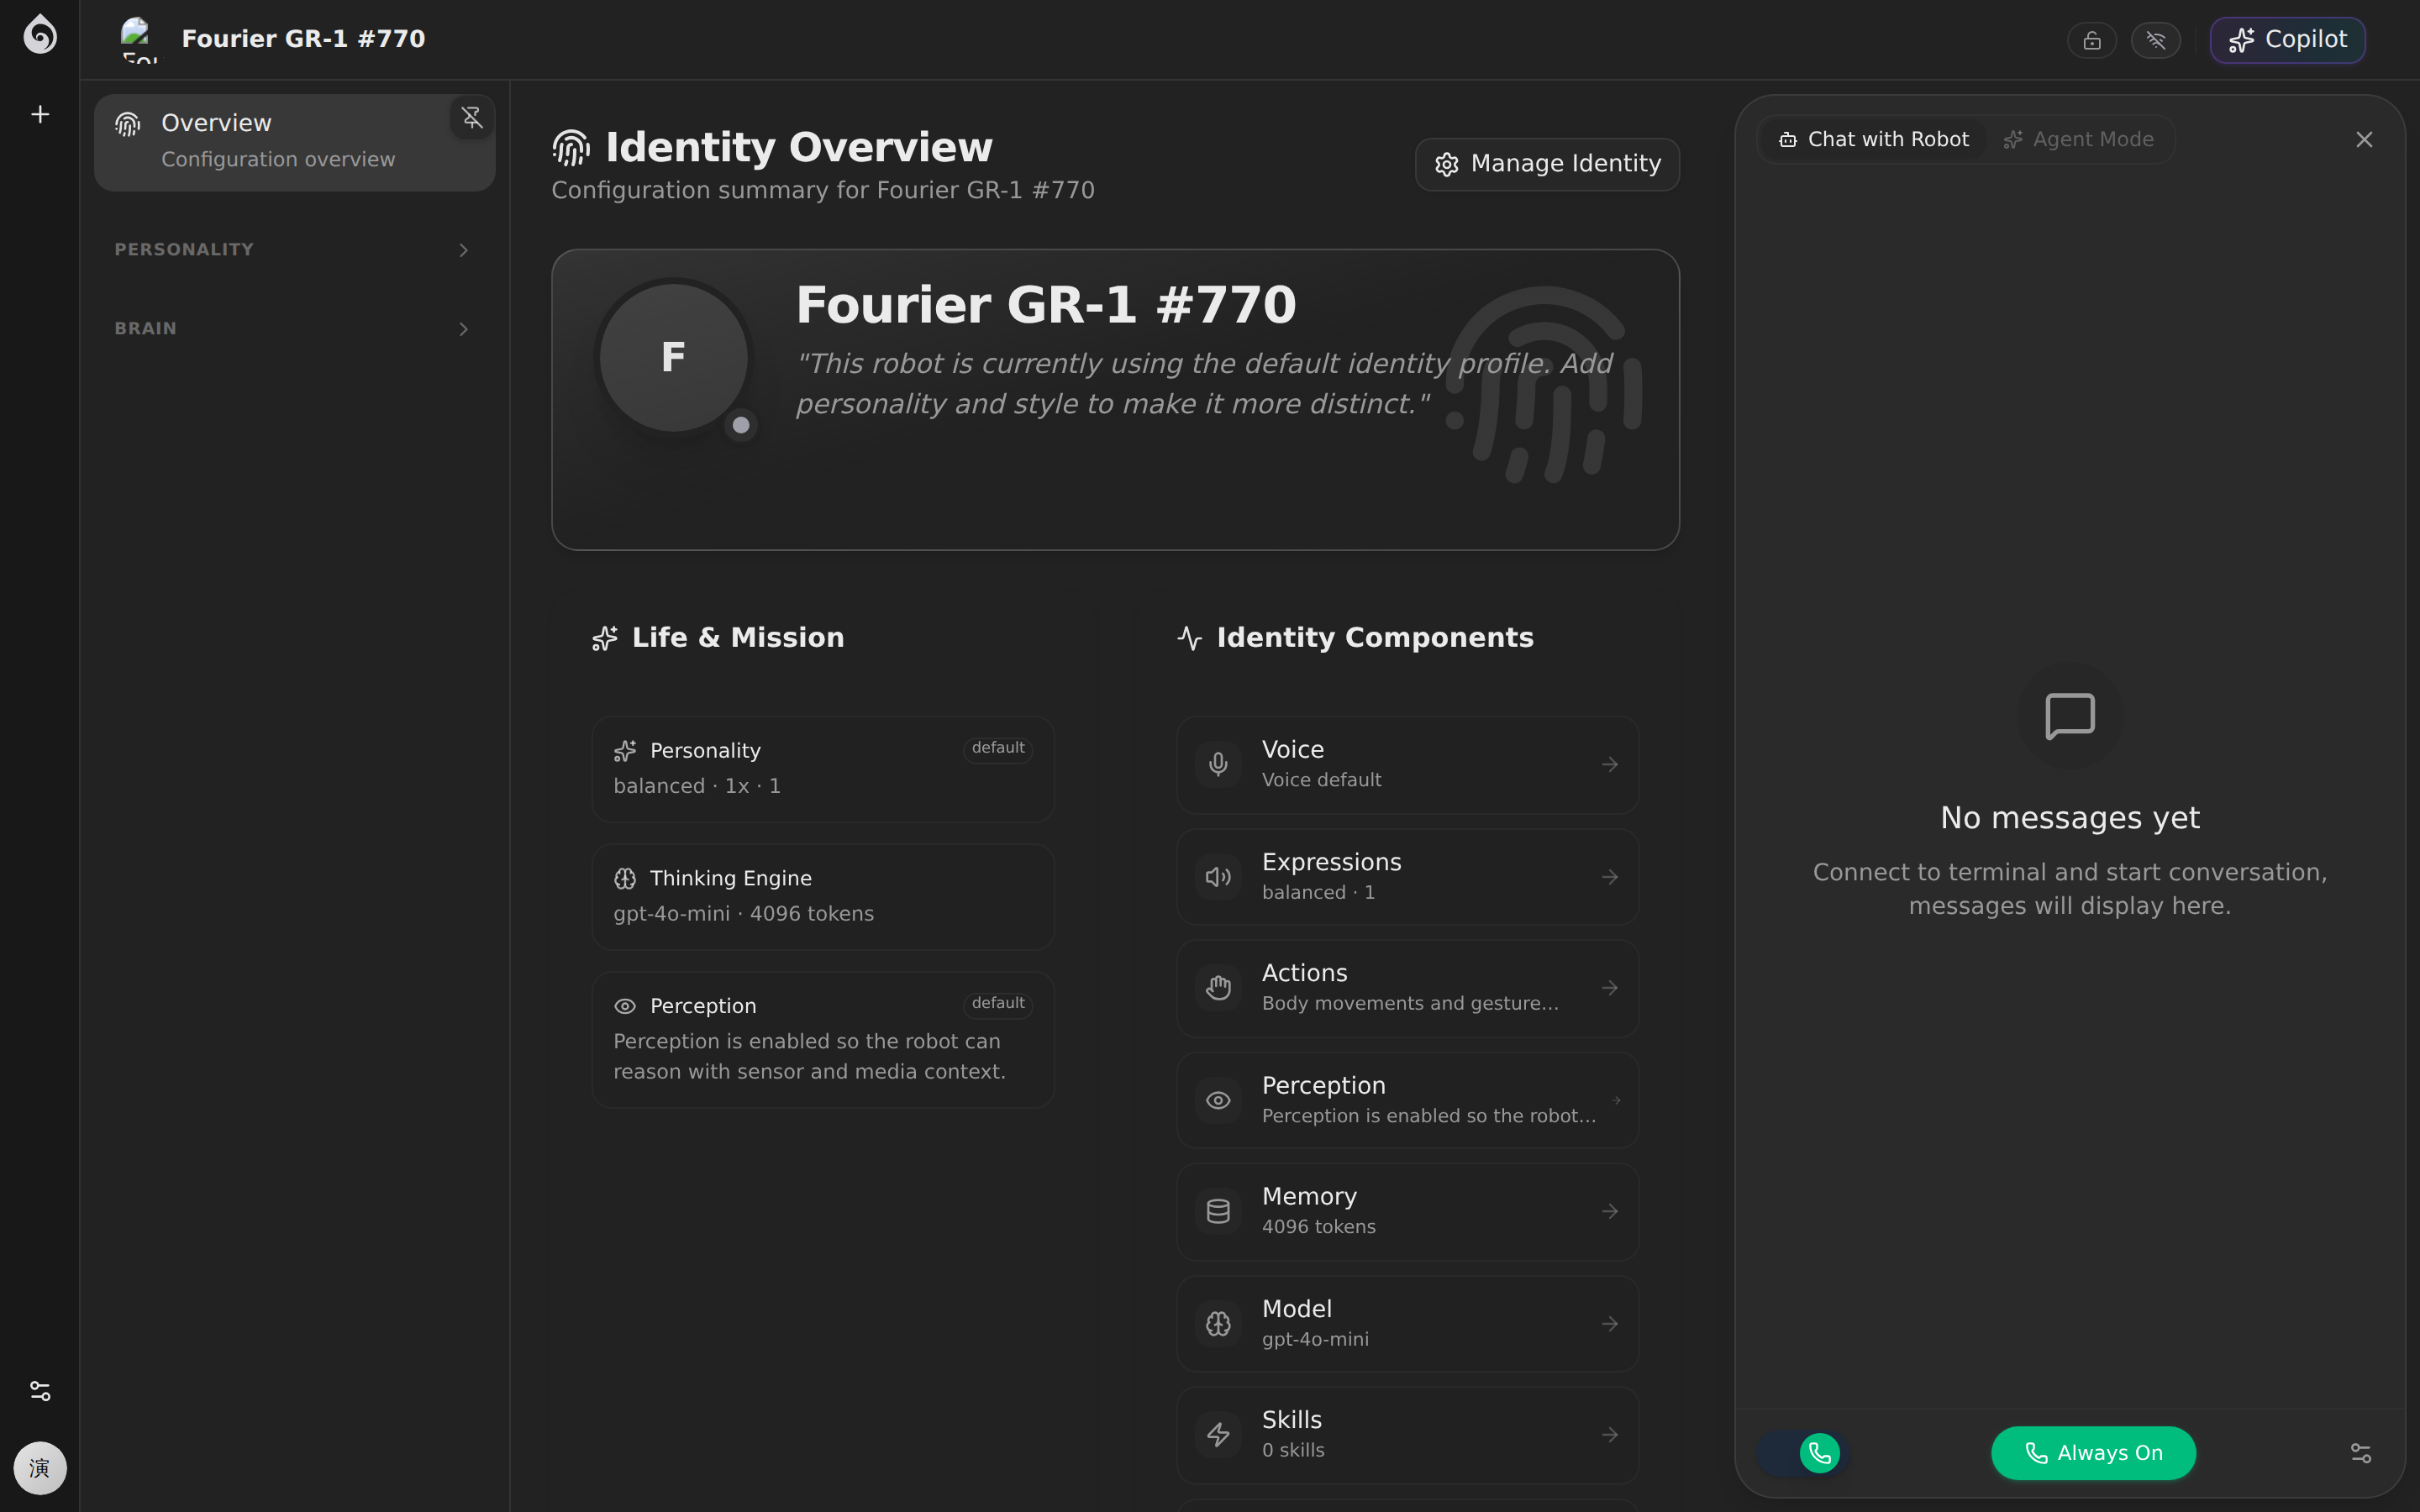
Minimum viable setup
| Setting | Priority | Description |
|---|---|---|
| Model | Required | Choose an LLM (GPT-4o, Claude, DeepSeek, etc.) |
| Personality/Prompt | Required | Define role, tone, behavioral rules, and boundaries |
| Voice | Recommended | Select TTS voice for spoken responses |
| Skills (MCP Tools) | Recommended | Mount the tools the robot needs |
| Knowledge Base | As needed | Upload domain documents for RAG retrieval |
Continue here: Make the Robot Converse
Step 5: Teach the Robot One Job
The goal here is not to fill every page in the product. The goal is to close one real workflow. In practice that usually means two things:
- Task knowledge and business flow: what to say and what steps to follow
- Scene and navigation: where to go, which routes to use, and what zones matter
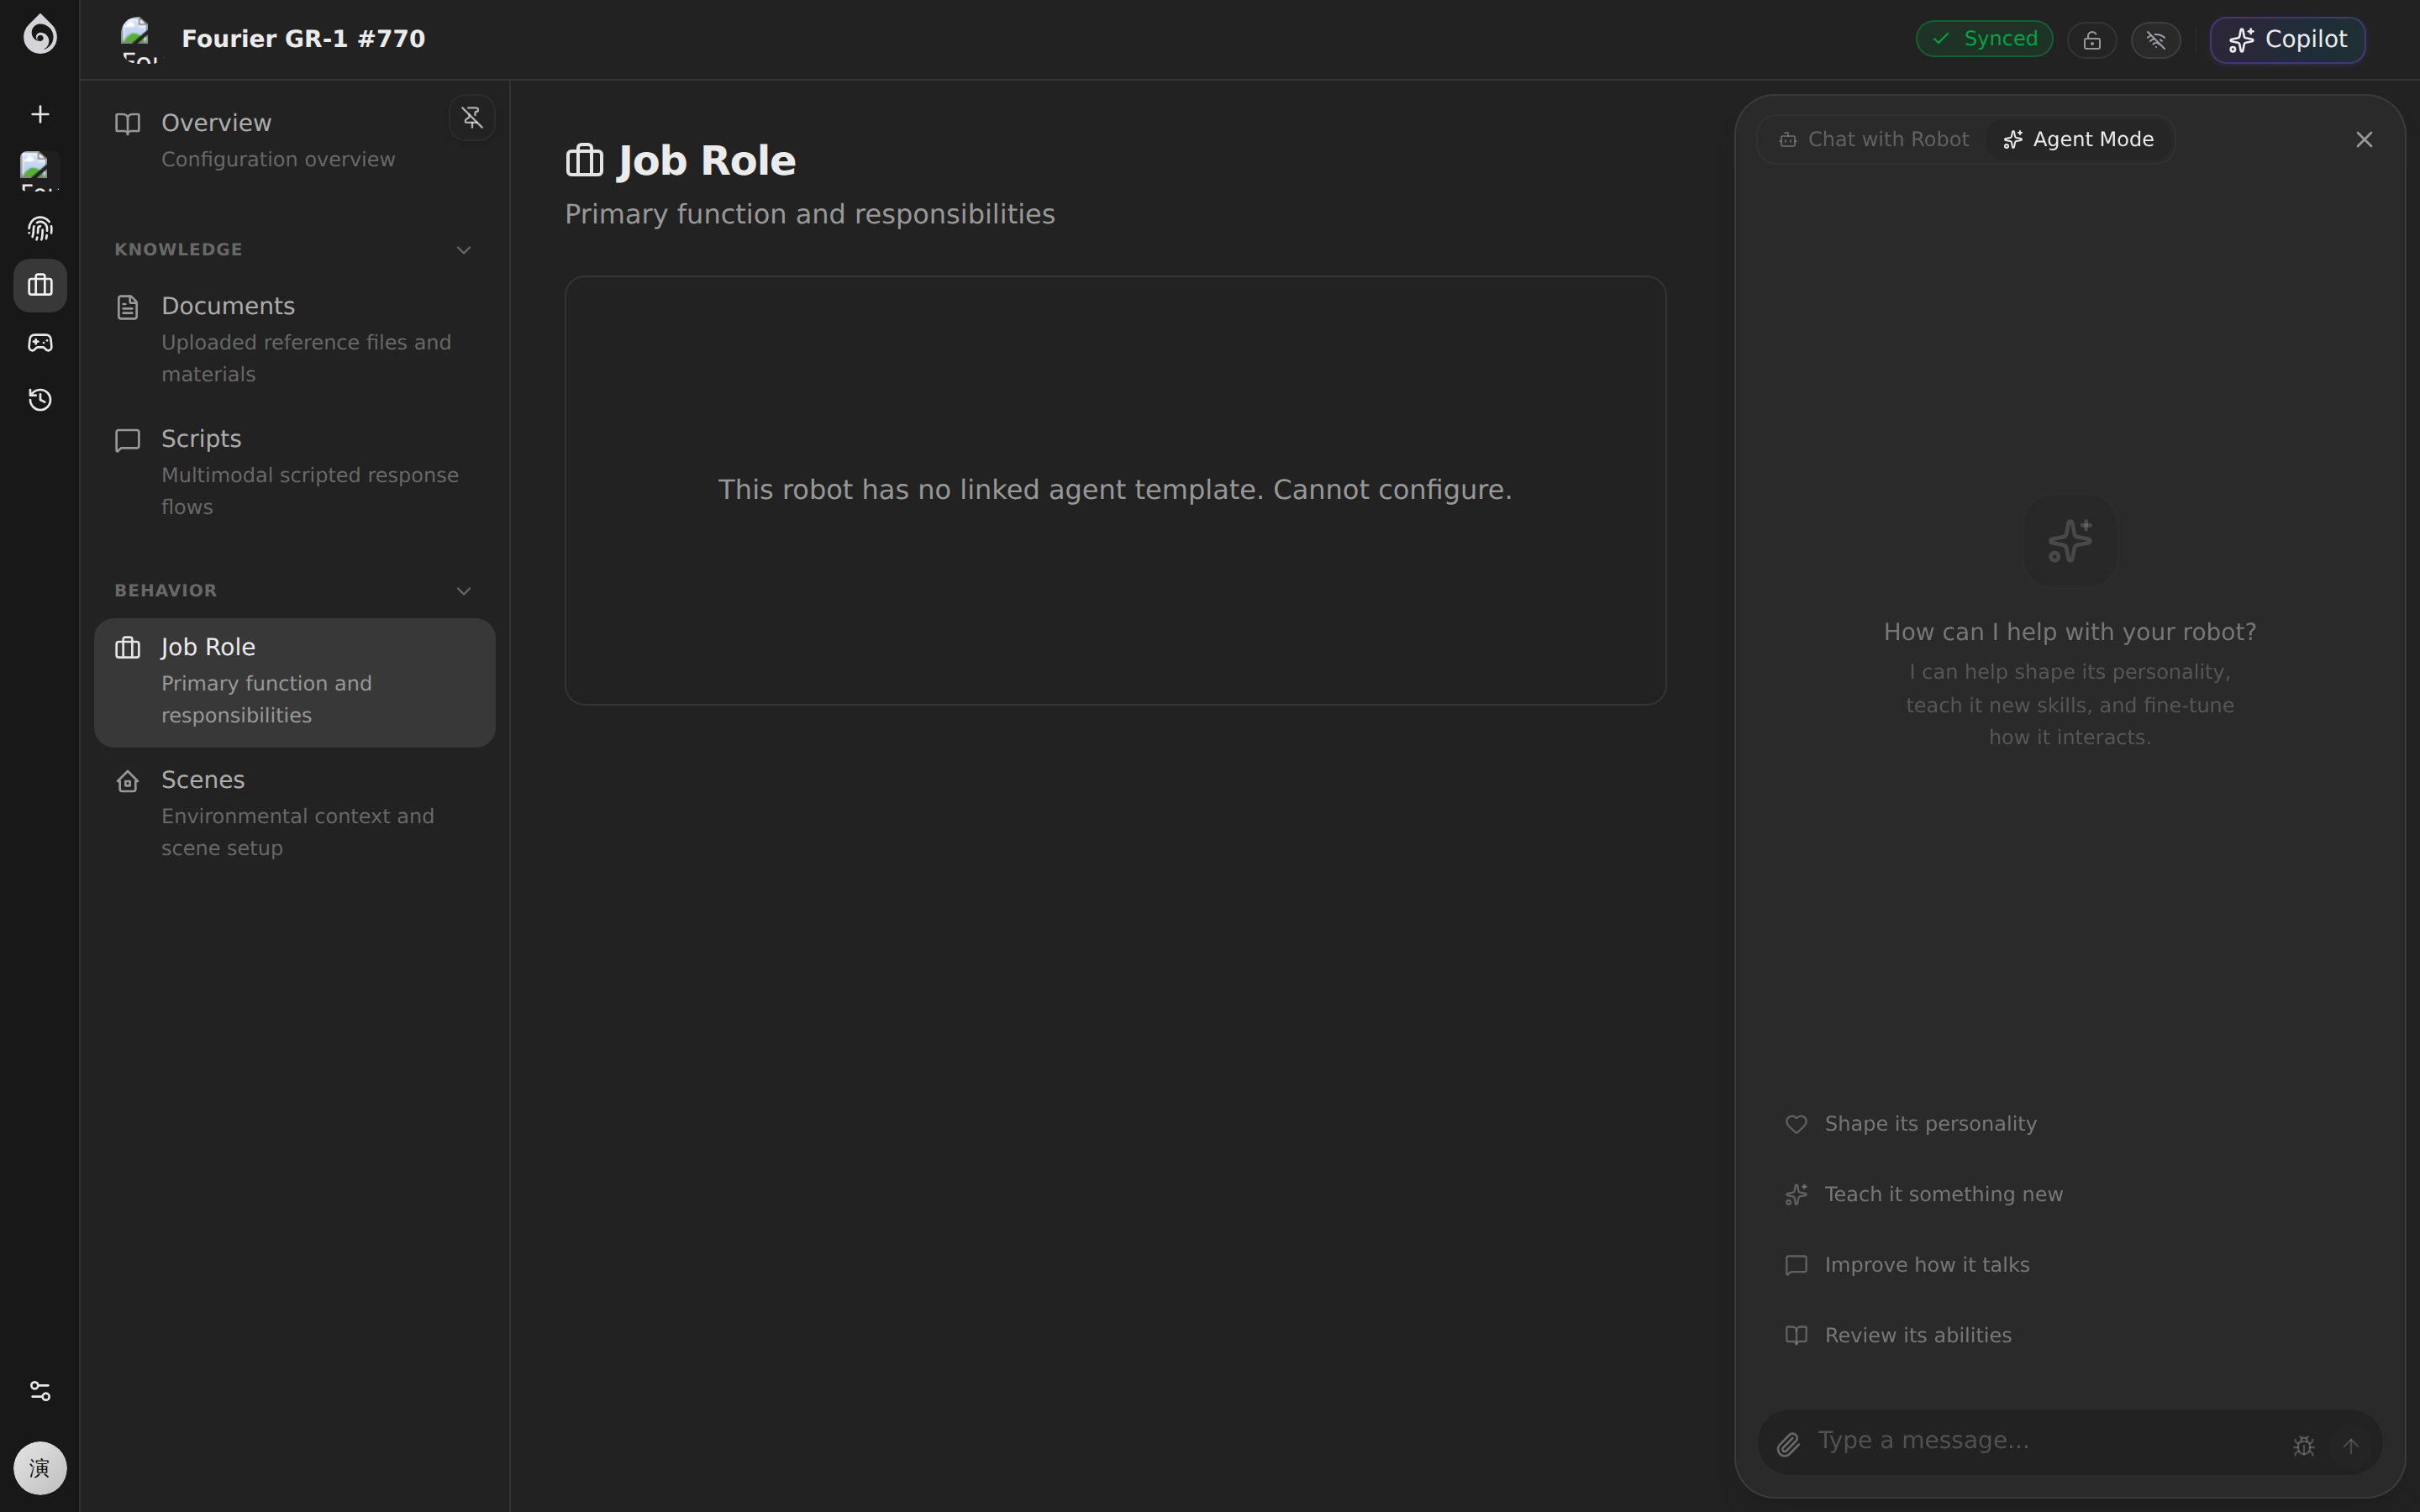
Recommended order
- Start in the robot detail page’s Expertise area and add the minimum knowledge, scripts, role, or flow the robot needs
- If the robot moves in space, go to Expertise → Scenes and bind a map plus routes
- Configure scene elements:
- Map — 2D/3D environment map data
- Routes — Predefined patrol or service paths
- Zones — Functional areas (charging, restricted, service zones)
Continue here:
Step 6: Go-Live Verification
Before handing the robot to the operations team, run a complete end-to-end check.
Verification Checklist
Connectivity
- Robot shows as Online in the dashboard
- Health metrics (CPU, memory, network) show no alerts
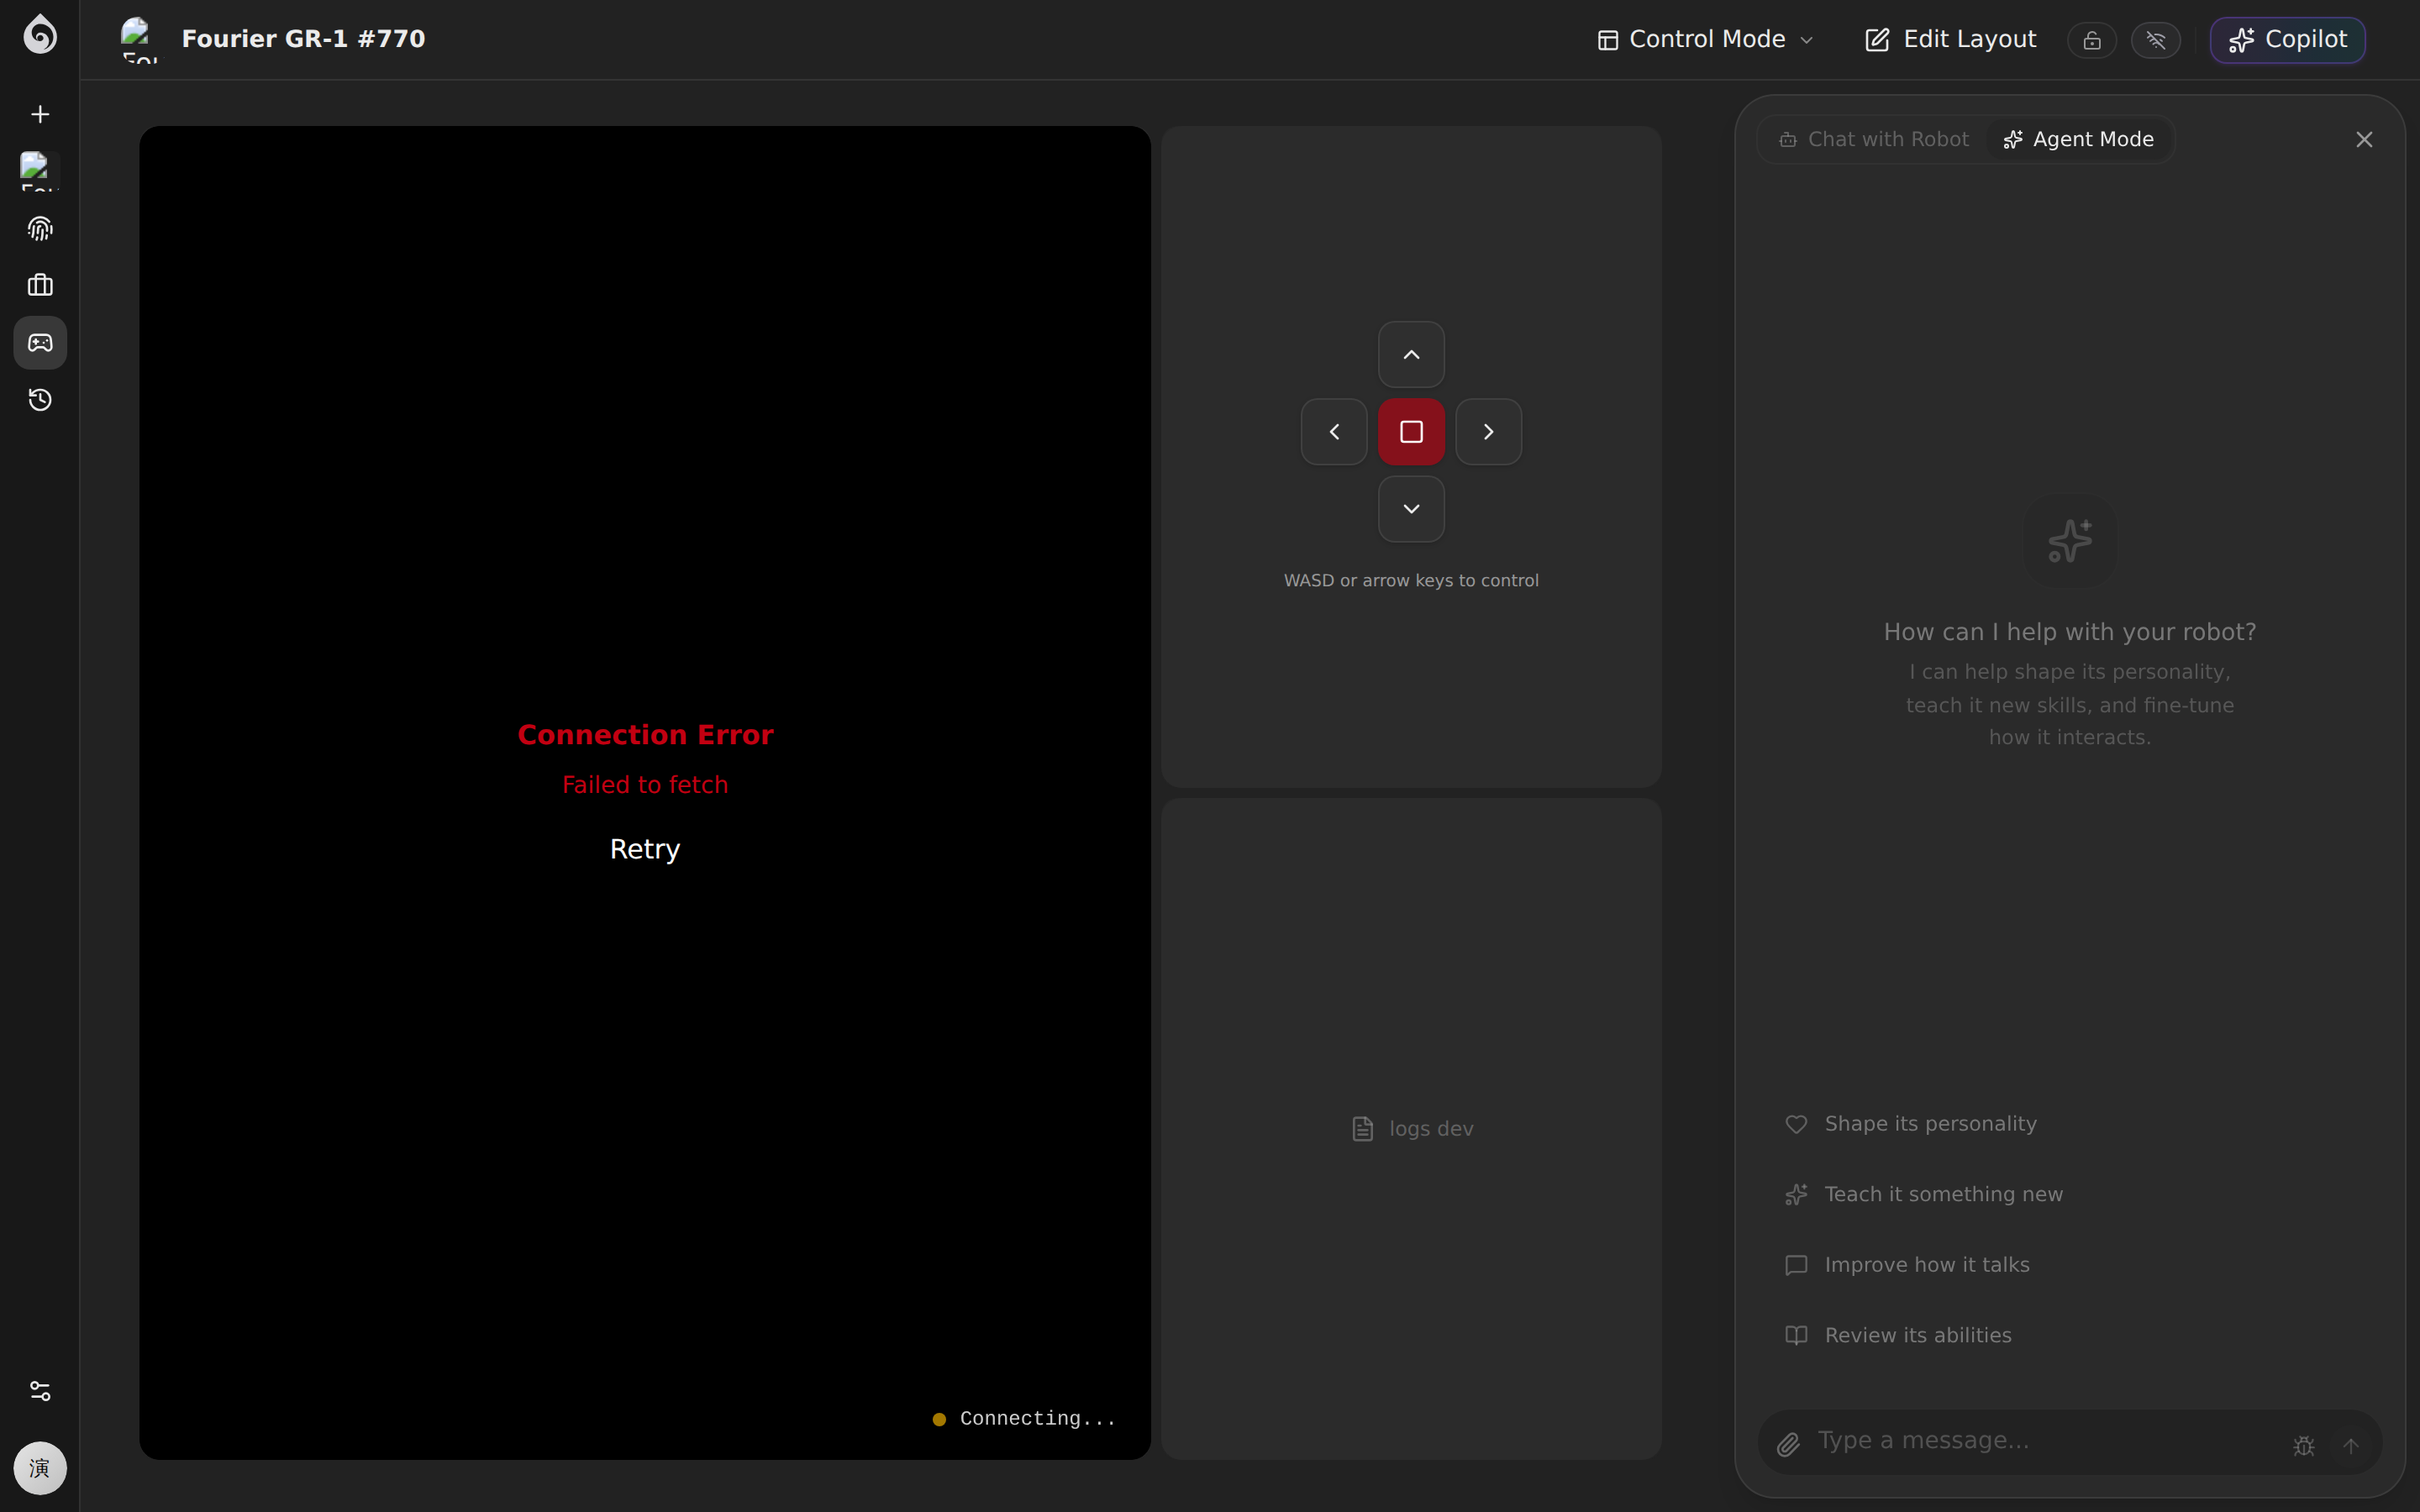
Remote Control
- Open the Teleops — video stream loads correctly
- Sensor panels refresh with live data
- Keyboard commands produce correct robot movement
Agent Conversation
- Trigger a test conversation — agent responds normally
- Response style matches personality config (tone, role)
- Knowledge base queries hit expected document fragments (if RAG is configured)
Scene & Navigation
- Scene map loads correctly (if configured)
- Navigation commands execute as expected (if applicable)
Common Issues
| Symptom | What to check |
|---|---|
| Robot shows offline | Verify device network and identifier match |
| No video in Teleops | Confirm media service is configured; check WebRTC channel |
| Agent doesn’t respond | Verify model service API key is valid |
| Hallucinations in responses | Refine system prompt boundaries; add knowledge base content |
Onboarding Complete
Once verification passes, the robot is ready for production handoff. Next steps:
- Daily Operations — Monitoring, control, and post-incident review
- Platform Assets — Shared setup, knowledge, identity assets, and team governance
- Tools — MCP tool integration and real-time diagnostics